We all love our notebooks for being the perfect helpers and companions in our everyday life. Be it business or casual, they are here to help us when we need them the most. From watching movies, writing texts and even editing videos, you can do anything you want on them.
As technology advances they become even slimmer and lighter, you can store them basically anywhere and always take them with you in your backpack. However, there are a few downsides when it comes to notebooks and laptops. Unlike standard desktop PC’s, they rely on one very important thing in order to run. The battery.
If you find yourself in a situation where your notebook battery malfunctions or completely dies, there are not many options that you can choose from. That’s why in this article, we’re covering some of the things you can do if your notebook battery dies or is about to die.
Making sure it’s the battery

Before jumping in conclusions and panicking, you need to make sure that the problem is in the battery for sure. Sometimes your notebook won’t start because of other reasons. Such as a faulty driver, especially graphics driver, dead RAM (random access memory) or anything else really. Or, maybe your notebook battery is just empty because you forgot to charge it for a while. If you remove all of these things from the list but, and the problem still persists, you should move on to the next step.
Trying to revive your dead battery
Before performing this step you need to make sure that your battery is either Nickel-Metal Hybrid (NiMH) or Nickel-Cadmium (NiCD). If you try and perform this method with the wrong type of battery, you will most likely just destroy it.
An important note is that all Macs have lithium battery and most of the modern Windows laptops will also have a lithium battery.
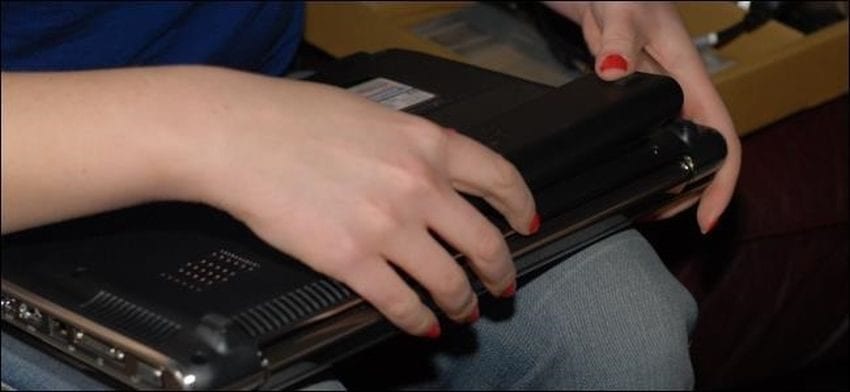
The first step would be to completely unplug and turn off your laptop. Then, you need to remove the battery. After removing the battery you will have to put it in a soft cloth bag and then in a Ziploc bag. By doing this you will make sure that your battery doesn’t get damp while freezing.

Put the battery in your freezer and let it remain in there for about ten hours. Doing this should give the battery enough time to restore part of its lifespan. Make sure that you don’t leave it more than twelve hours as this may cause it to leak. After you remove the battery from your freezer you should dry it and allow it to come back to room temperature. Simply leave it in your room where your laptop is for an hour and come back after. Once this is done, you can put the battery back into your laptop and plug the charger in. After your battery gets recharged it will hopefully work again.
Completely replacing your battery
Some people really don’t like to go through the entire process of trying to fix a battery. Instead, they just decide to buy a new one and completely replace. Laptop batteries are not even that expensive so if you really have the required budget, you should go ahead and buy a new one instead. You should also remember that laptop batteries should be changed every two to three years for optimal performance.


